Mutual authentication using mTLS
In a production environment, we strongly suggest setting up secure communications between the manager and repository applications. This can be done by using a server certificate for the repository application and configuring the manager application to trust the repository server certificate. By default when using secure communications, there is only a one-way trust: the client (RDepot manager) trusts the server (RDepot repository). However, security can be increased even more by configuring two-way trust: the server (RDepot repository) can be configured to trust the client (RDepot manager). Usually, this is done using mutual authentication or mutual TLS (mTLS).
In this guide, we will:
- create a custom certificate authority (CA)
- create a certificate signing request (CSR)
- for the repository application
- for the manager application
- create a signed certificate from the CSR using our custom CA from step 1
- for the repository application
- for the manager application
- configure the RDepot repository application
- to use the certificate and private key
- to trust the RDepot manager certificate
- configure the RDepot manager application
- to use the certificate and private key
- to trust the RDepot repository certificate
- create a new repository and test the connection between manager and repository
Creating a custom certificate authority
We can be our own certificate authority (CA) by creating a self-signed root CA certificate:
# generate a self-signed root CA certificate:
#   output in X.509 certificate structure
#   use SHA-2 256 digest
#   valid for 10 years
#   use RSA with 2048 bits as the algorithm
#   save the private key to file ca.key
#   save the root CA certificate to file ca.crt
openssl req -x509 -sha256 -days 3650 -newkey rsa:2048 -keyout ca.key -out ca.crt
OpenSSL will prompt for a pass phrase to secure your private key and will request some additional (mostly optional) information.
Two files should have been created: ca.key and ca.crt.
Creating certificate signing requests
Before generating certificate signing requests (CSRs), we will need to generate private keys:
openssl genrsa -out repo.key 2048
The above command generates a new private key using the RSA algorithm with 2048 bits and stores it in the file repo.key.
Now repeat this step for the manager application:
openssl genrsa -out backend.key 2048
In order to sign the certificates using the CA, we need CSRs.
A CSR includes the public key and some additional (mostly optional) information.
Generating CSRs uses the newly generated private keys (repo.key and backend.key) and can be done using the following commands:
openssl req -key repo.key -new -out repo.csr and openssl req -key backend.key -new -out backend.csr
OpenSSL will prompt for some additional (mostly optional) information.
It is important however to specify the Common Name (e.g. server FQDN or YOUR name) and make sure it matches the correct hostnames.
When using our Docker Compose deployment, the hostname of the repository server within the Docker RDepot network will be oa-rdepot-repo and the hostname of the manager application will be oa-rdepot-backend.
Finally, the private keys should be readable by the application processes.
Executing chown 2000:2000 repo.key && chown 2000:2000 backend.key will change ownership of the private key files to the user and the group that are running the application processes.
You might need additional rights to change the ownership (using sudo or something similar).
The group and user IDs (2000) are defined here and here.
Four files should have been created: repo.key, repo.csr, backend.key and backend.csr.
Creating signed certificates
Now that we have CSRs, we can finally sign our requests and generate the certificates. Before doing so, it is recommended to create an additional configuration file for the SAN extension properties. SAN allows you to configure and secure multiple IP addresses or domain names using the same certificate.
Create a file called san.ext with the following contents:
authorityKeyIdentifier = keyid:always,issuer:always
basicConstraints = CA:FALSE
subjectAltName = @alt_names
[alt_names]
DNS.1 = oa-rdepot-repo
Feel free to include additional IP addresses or domain names by appending to the bottom of the above file (e.g. DNS.2 = my-repo.com).
Then, execute OpenSSL to generate our repository server certificate:
openssl x509 -req -CA ca.crt -CAkey ca.key -in repo.csr -out repo.crt -days 365 -CAcreateserial -extfile san.ext
Finally, execute OpenSSL to generate our manager application certificate:
openssl x509 -req -CA ca.crt -CAkey ca.key -in backend.csr -out backend.crt -days 365 -CAcreateserial
Two files should have been created: repo.crt and backend.crt.
Configuring the RDepot repository application
This guide assumes you are using our Docker Compose demo deployment.
Map the previously generated certificates and private key as volumes in the docker-compose.yaml file:
services:
  repo:
    volumes:
    - repository:/opt/rdepot/
    - ./docker/compose/repo/application.yaml:/opt/repo/application.yml:ro
    - ./repo.crt:/opt/repo/server.crt:ro
    - ./repo.key:/opt/repo/server.key:ro
    - ./ca.crt:/opt/repo/ca.crt:ro
Then, edit the application configuration file as follows:
server:
  port: 8443
  ssl:
    enabled: true
    bundle: repo-api
    client-auth: NEED
spring:
  ssl:
    bundle:
      pem:
        repo-api:
          options:
            protocol: TLS
            enabled-protocols: TLSv1.3
          keystore:
            certificate: /opt/repo/server.crt
            private-key: /opt/repo/server.key
          truststore:
            certificate: /opt/repo/ca.crt
Configuring the RDepot manager application
Map the previously generated certificates and private key as a volume in the docker-compose.yaml file:
services:
  backend:
    volumes:
    - repositories:/opt/rdepot/repositories/
    - snapshots:/opt/rdepot/generated/
    - queue:/opt/rdepot/new/
    - ./docker/compose/backend/application.yaml:/opt/rdepot/application.yml:ro
    - ./backend.crt:/opt/rdepot/client.crt:ro
    - ./backend.key:/opt/rdepot/client.key:ro
    - ./ca.crt:/opt/rdepot/ca.crt:ro
Then, edit the application configuration file as follows:
spring:
  ssl:
    bundle:
      pem:
        repo-api-client:
          keystore:
            certificate: /opt/rdepot/client.crt
            private-key: /opt/rdepot/client.key
          truststore:
            certificate: /opt/rdepot/ca.crt
repository:
  api:
    ssl:
      enabled: true
Testing the new setup
After following all of the above, the deployment can finally be started by executing docker-compose up.
In your browser, go to http://localhost and log in using the following credentials:
- username:
einstein - password:
testpassword
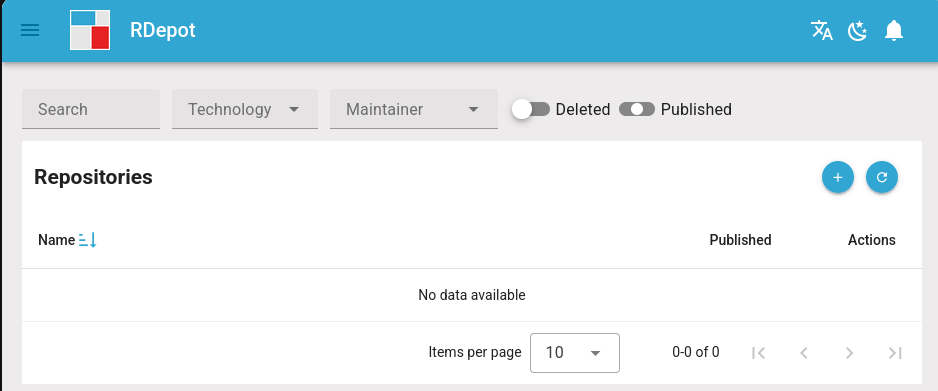
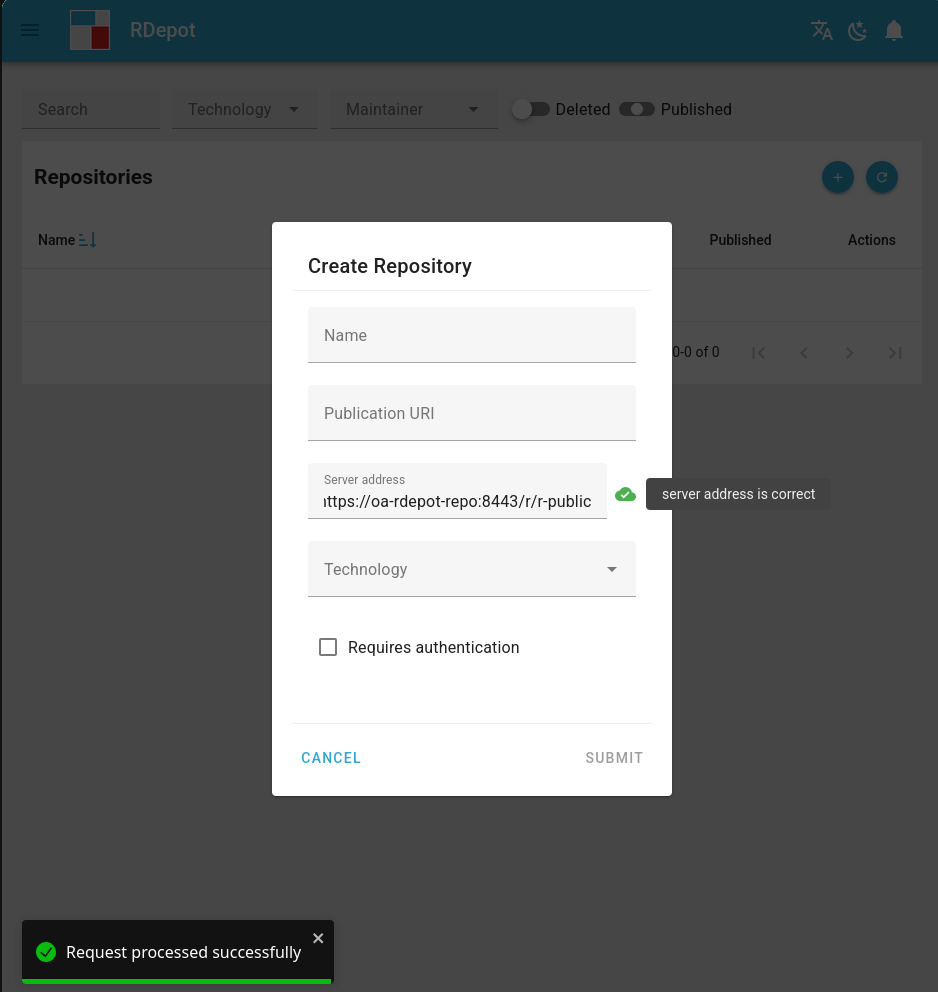
Go to the repositories page at http://localhost/repositories and click on the blue + icon (top right) to create a new repository.
In the Server address field, enter https://oa-rdepot-repo:8443/r/r-public and click on the test button to the left of the input field.
It should mention that the server address is correct.
Conclusion
To conclude, in this guide we have setup mutual authentication using mTLS between the RDepot manager application and an RDepot repository application.
This was done using openssl (for generating the necessary keys and certificates) and the provided Docker Compose demo deployment of RDepot.
Additionally, RDepot can be configured using only a couple of properties, both in the RDepot manager application properties and in the RDepot repository application properties.
A server key, server certificate and CA certificate were installed and configured on the repository server side and similarly on the manager client side.
Specifying the repository server address now should include https instead of http and port 8443 instead of port 8080 by default.